Hello friends! I'm sorry I have been so long in writing you. I feel so caught up in all that has been going on that it has been really difficult to tear away and write, or even process it all. Even now, I'm missing a building session to take a break and write you.
I started to write some about 2 and a half weeks ago, but didn't finish... It feels like it was just last week, but that is the pace things have been going... here's that bit:
 I arrived at Cob Cottage Company about 2 weeks ago. It rained a lot during the first week, but everyday we considered the possibility that the dry summer season would instead be starting. My impression is that perhaps now it has finally arrived, but we'll see (nope! It didn't... but now it has - just a few days ago!). Fortunately, I brought rain pants and jacket and was able to borrow some rubber boots. With all that, it was easy to walk around in the mud in the garden while it was raining. At first I adopted the hoop house because it's short like me :) and needed some attention. I've mostly been watering weeding, and harvesting from it, but we'll be planting a few new things in the there soon. (planted tomatoes, fennel, celery, and cilantro in there since then).
The atmosphere is really great. There are no roads or motorized vehicles in the area, so you park in a parking lot and then walk into the site. Here's a photo of that brief walk.
The site is a little village of cob buildings, garden walls, forest paths, and reusable supplies. It is a fascinating place to experience and a great opportunity to understand what is possible with natural building and living.
A few days after I
arrived, a workshop on building with cob began and I was able to mix my
first batch of cob! Cob is a mixture of subsoil (soil that is mostly
clay), sand, water, and straw. The straw is added to increase strength
and hold the cob together better. In the end, this mixture seems very
much like a dirt cement... very strong and a great building material.
During this process, I quickly realized that there isn't a clear recipe
for how to make cob, but a wide variety of mixtures that all work.
There are certainly instances where one mixture will work better than
others, but overall what you make can be in a wide range of any of the
ingredients. Cob is easier to mix with your feet. Here is a picture of someone mixing cob at another location outside of Cob Cottage Company and building a serving table with it.
So, that was a great start, and now I'll continue and try to talk about all that I experienced...
As it turned out, I spent virtually all my time at Cob Cottage Company in the garden. It was great to get a little taste of everything that was happening with the other people there, but because there was limited help in the garden, it seemed to be where both Logan and I were most needed. Ianto (one of the founders of Cob Cottage Company) is the leader of the garden. It is huge. There are about 60 or so beds that are about 6 feet across by 25 feet long. Some of them are "fallow" each year, which means that he lets them grow whatever they happen to grow to reestablish some nutrients and such, but lots of them are planted or have perennial plants that get harvested for food and flowers or have decorative plants and flowers in them. Here are some photos of the gardens, greenhouse and tunnel or hoop house, which create warmer climates for growing.


While there, we did a little of everything. We cultivated the ground for planting, weeded out fallow beds and planted beds, direct seeded quinoa, started lettuce, cabbages, and cucumbers from seed, transplanted cucumbers, winter squash, scarlet runners, tomatoes, flowers, leeks (one of Ianto's special crops, along with fava beans), beets, celery, herbs, and lots of potatoes (among other things).
What I think I valued the most was understanding little bits of Ianto's philosophy for growing food and planting. He calls this ecological gardening. He is always thinking about what plants need and what might be limiting them from those needs... other competition for light, nutrients, minerals, water, etc. One of the products of this thinking is the concept of "preferred weeds." The idea is that you leave the weeds in that might do something helpful for the other plants, like fix nitrogen or occupy space without taking much water or nutrients. Also, it is great to have weeds that are easy to remove (like thistles that pull straight out easily and save a space for your new plant instead of stachys, which has a rhizoid root system that stems new plants when it is broken - ugh, what a pain to dig that out once it gets going; soft grasses are great. Canary grass and other hard grasses are bad... get the idea?) In addition to all that planting and weeding, I learned a lot of new plants and how to harvest them for salads. I love the taste of lemon balm in salad and nasturshum flowers (a little spicy!). yum. Orca is a little sour and Mashua is a fun touch. Great perrienial plants that just keep giving. We also picked slugs off of plants in the garden. At first this seems gross, but looking at them, they are actually super cool little creatures. You can see them eating and looking around. We gathered them up and took them across the river. Still not fond of the trail of slime thing, but, that's what gloves are for :)
 In between gardening, we got to hear from a few experts about their specialties and tips. During my time there, there was a 9-day Complete Cob workshop, the ongoing building apprenticeship, and Linda, a co-founder of Cob Cottage Company, had some of her plastering friends come to help with a few projects. During all that, I picked up quite a bit of information! There were two people instructing the apprentices in wood building. We talked about roofs and they built a section of a carport, which you can see in these photos:
I didn't get to participate much, but I love the idea of round pole timber framing and using the resources that are available on your own land. Ianto took me out in the woods and taught me how to select a tree to use as one of the rafters and how to cut it down. I harvested one that was straight, maybe 5" in diameter and 30' tall. I also learned about hand sharpening chisels and axes.
During the plaster "party," I worked with the apprentice coordinator to test a few mixes to try to make tadalakt, which is an ancient Moroccan plastering technique that produces a water resistant surface! I found out about this just before arriving and I'm super excited to figure it out. I'd love to be able to master this - (maybe I should go back to Morocco and learn from them!) The mixes we tried worked ok, but there is some pretty specific and time intensive work involved in making it correctly (a lot of burnishing.. at just the right time). They made some pretty awesome artwork on the walls too. Here is the horse mural they were working on (not finished in this photo):
During our stay there, we got to try out two different cottages (there are about 10), then one more here in Bandon. Here are the photos:
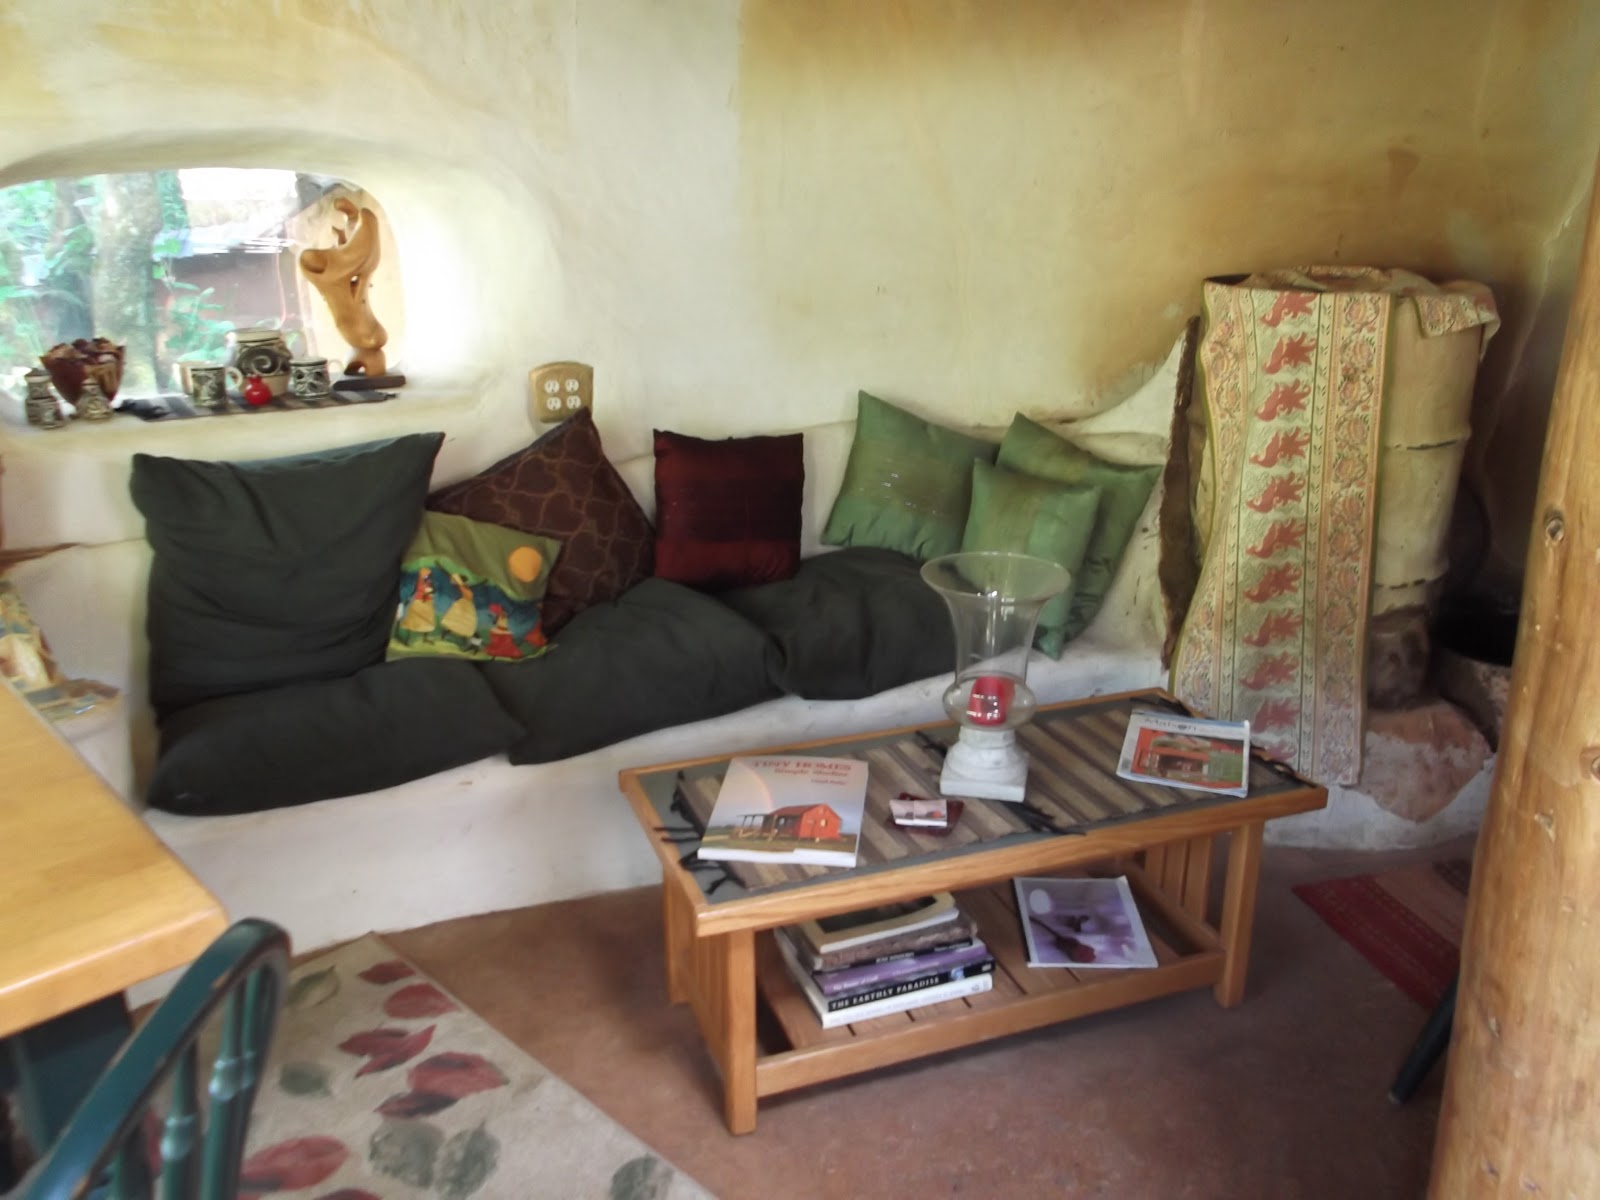
 The house that Linda lives in at Cob Cottage Company is supposed to be a model house of what a couple could build in one year with just over $5,000. It is a beautiful example with all sorts of beautiful materials including a loft, bathroom, kitchen, and rocket stove mass heater. It was recently featured in the Wall Street Journal in their review of the new book, Tiny Homes.
The apprentices, staff, and visitors that we met were really the core of our experience there. We met so many amazing new people. I hope we will be able to see them again some day and collaborate with them in the future. We'll definitely be traveling around and visiting at least a few of them. :) ...a few photos:
 Now, there is another Complete Cob Workshop going on, but this one is off site. It's in Bandon, OR, about 40 minutes away, where Logan and I had been visiting on our days off. We decided to come out and help with that course. Here, we are building a garden wall, which will create a space outside in the sun, but protected from the high winds coming off the ocean. Here are the participants in action:
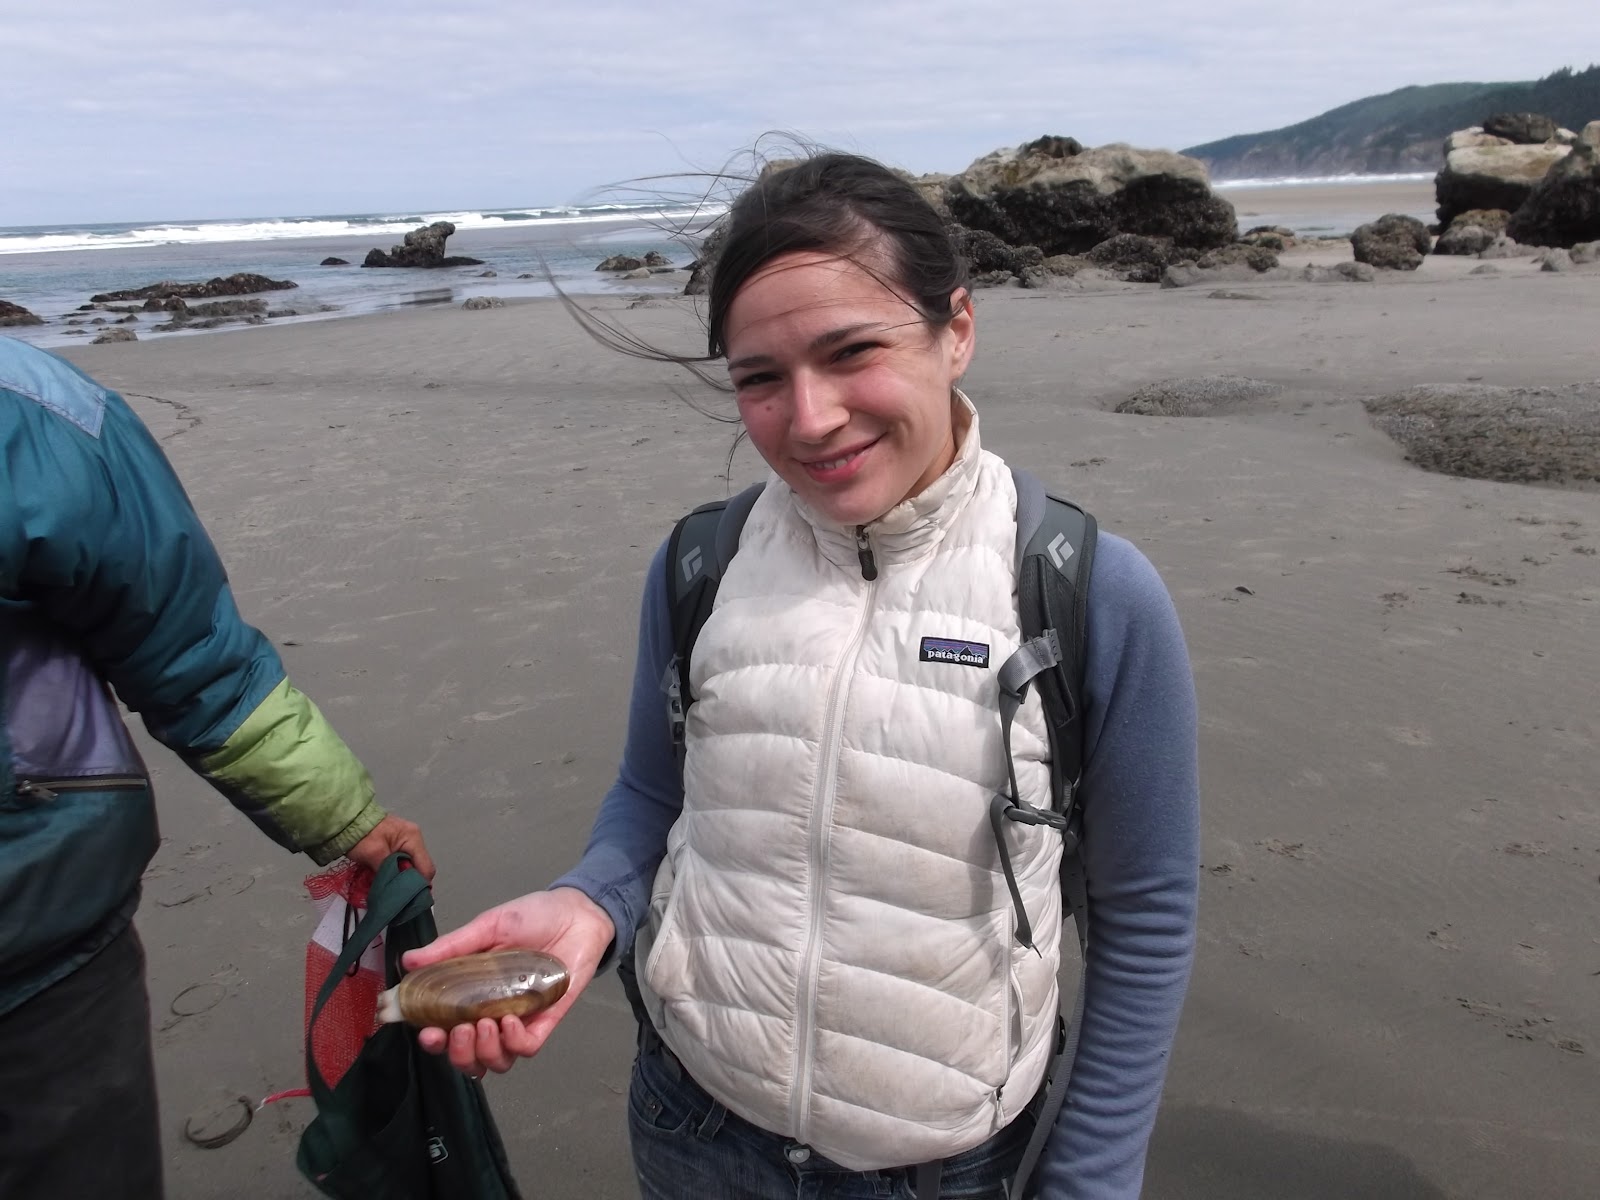
Aside from all the learning, we've been enjoying our time visiting the ocean too. Two days ago, we went clamming! I pulled one up myself! There were tons of tidepools on our way out there with gorgeous sea life too.