Wednesday, September 25, 2013

TADELAKT workshop!


After only about a year and a half of intense learning in natural building, I decided to teach a workshop! Thanks to Tammy's encouragement in Bandon, Oregon, I just finished a very successful 5 days of tadelakt and lime plaster teaching :) 

If you missed my original posting and are wondering what Tadelakt is... click here!


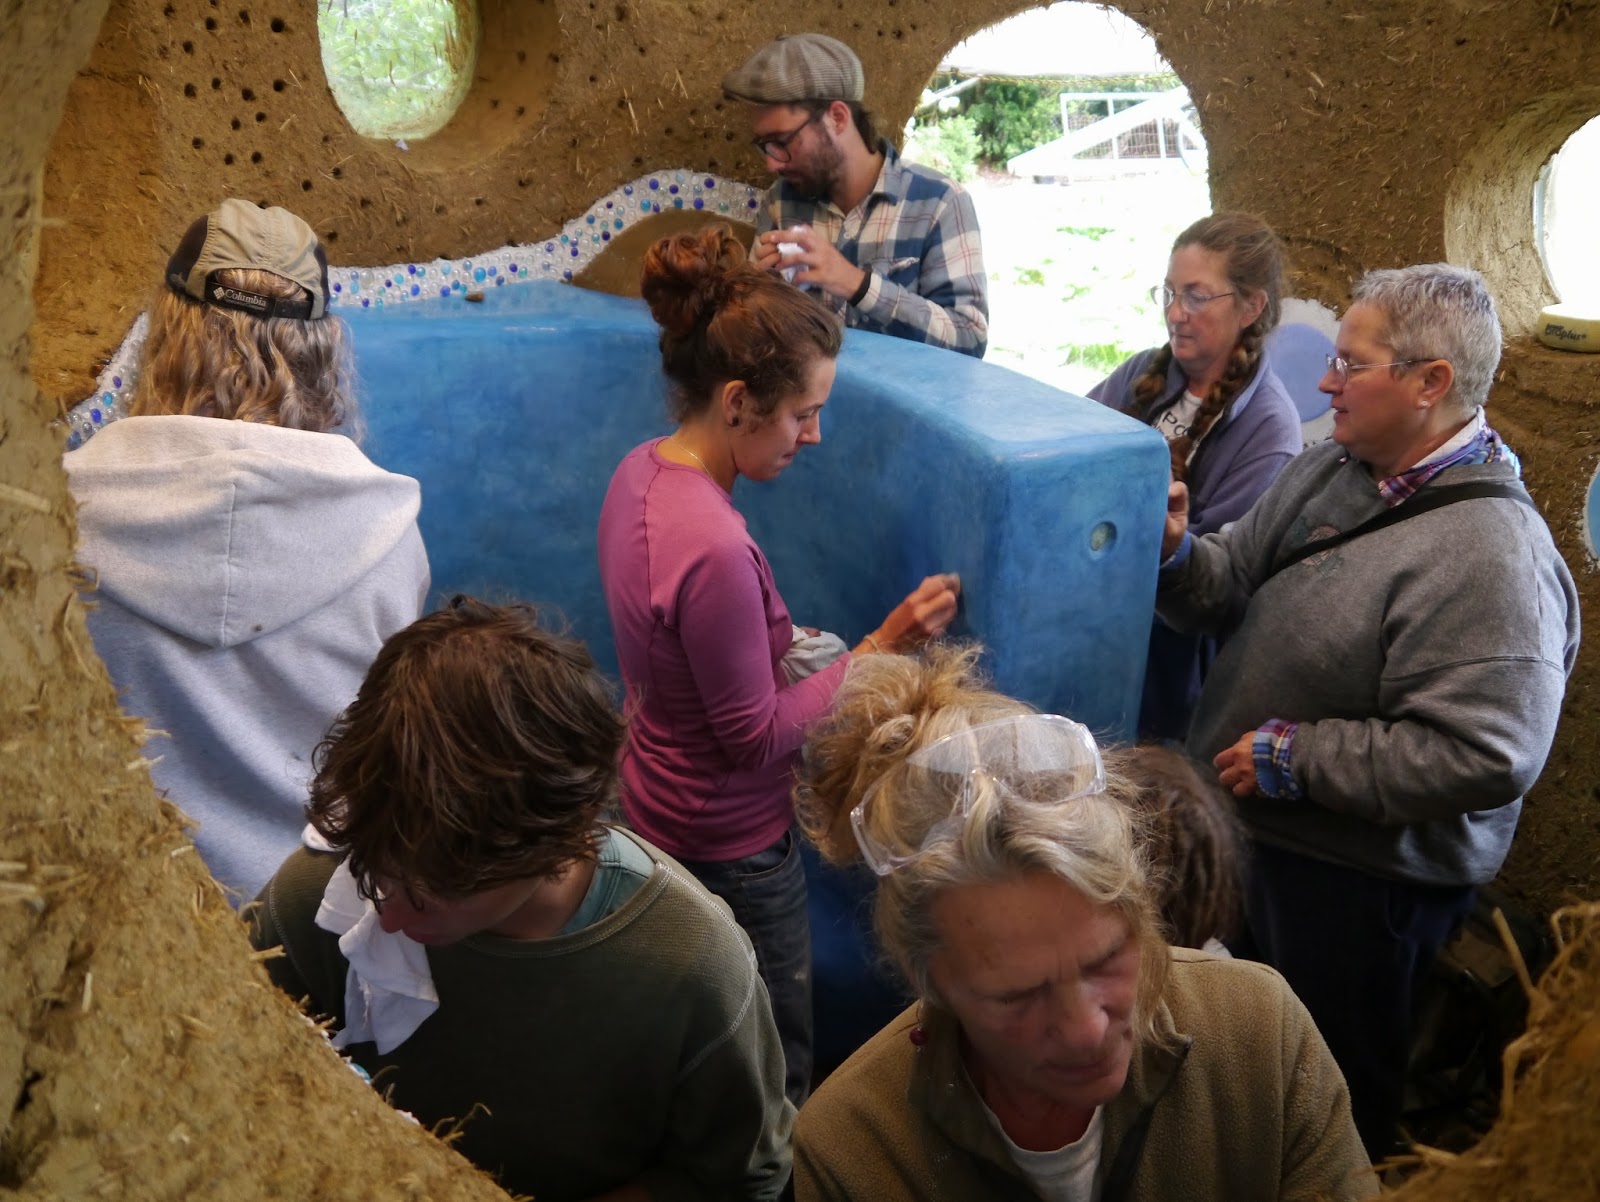
The finished tadelakt shower. Great job on the workshop, team!
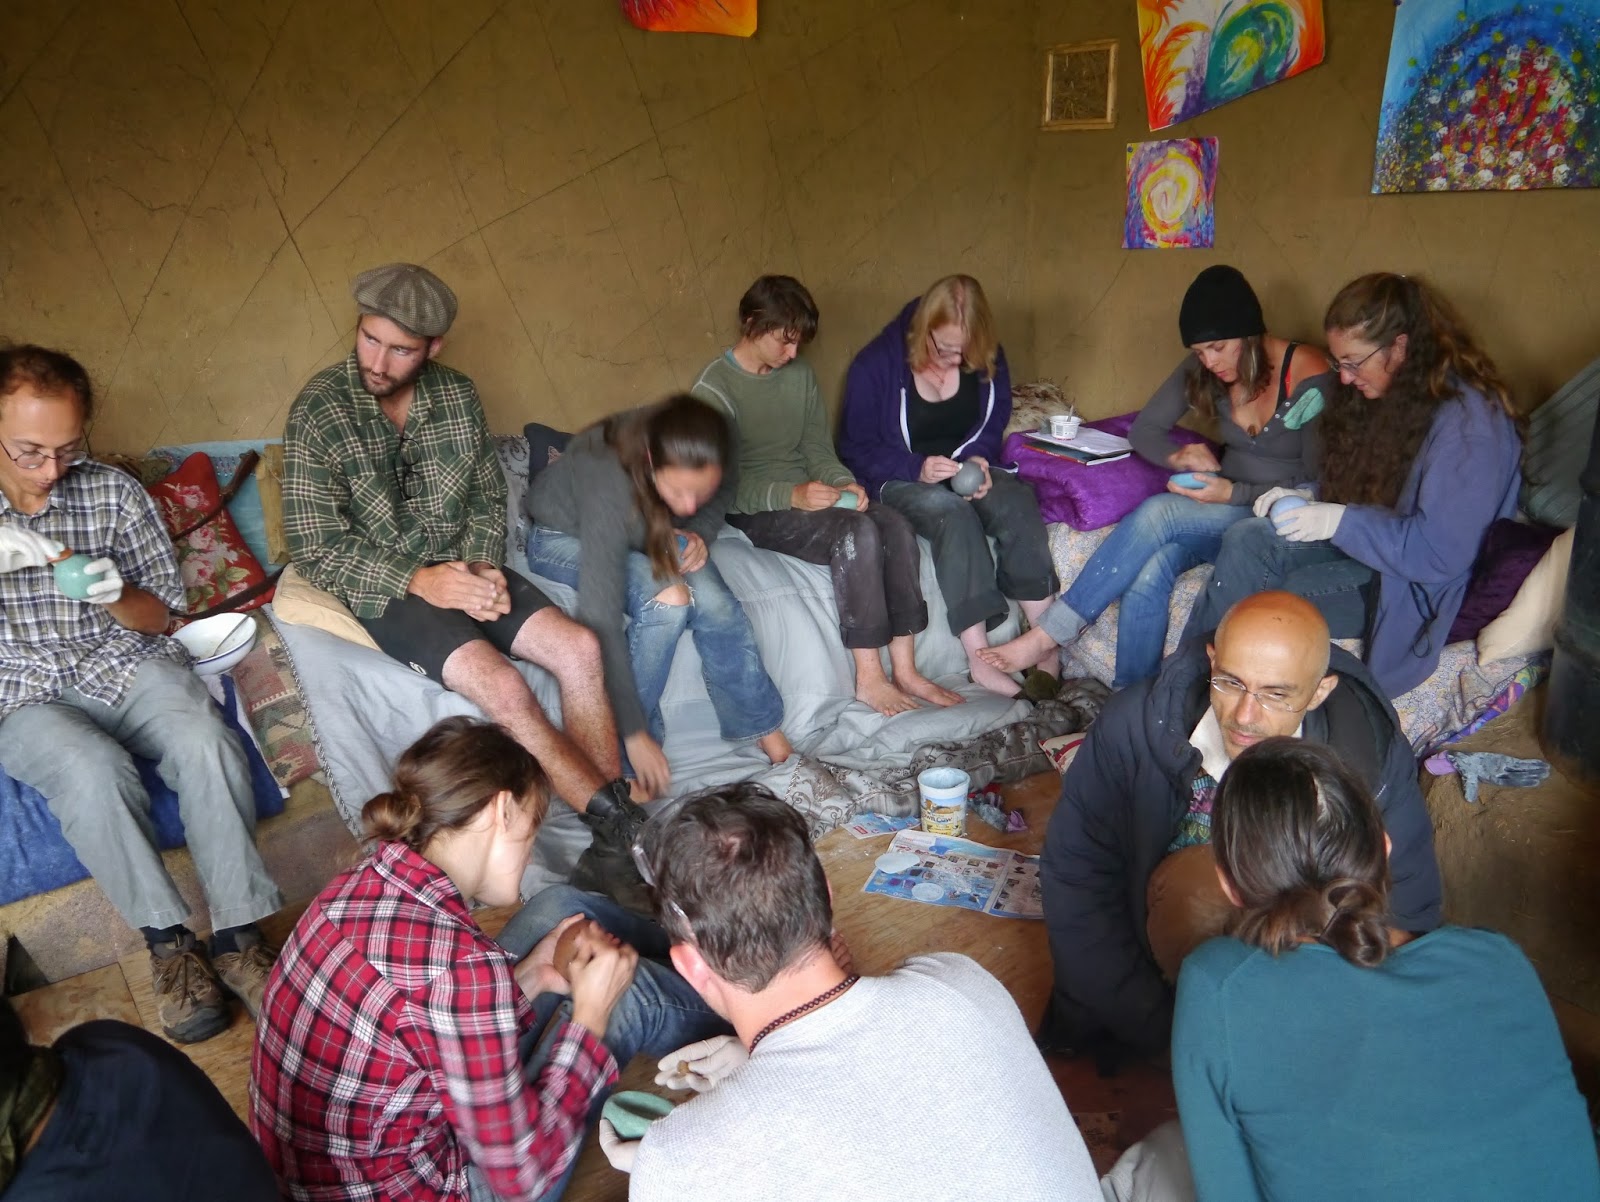
The first day was a one-day "Introduction to Tadelakt" workshop. It began with a thorough presentation and overview of tadelakt and lime plaster and then everyone applied a tadelakt finish to a "cobject."

Participants burnishing their tadelakt cobjects
The cobjects, color samples, and stones
Finished tadelakt cobjects!
Prior to the one-day workshop, my assistant Alexandra Nathan and I did a lot of preparation to get ready and make sure everything would go well... 

First we made samples of different lime plasters to use as our substrate and our tadelakt plaster. We varied the amount of sand and lime in each to find a good amount of strength, drying, and shine. Then we tested all the pigments that Tammy has purchased to see what colors we were most interested in. We added to and roughed up the earthen plaster (or brown coat) that had been applied over the cob and eventually applied the lime plaster substrate. We also had chosen some colors that we liked for the shower, so we added some "bubbles" to the interior of the bathhouse to test out the tadelakt.

Substrate and Tadelakt Lime Plaster Samples w/ cat prints!
Scratched up Earthen Plaster
Alex and I with Pigment Samples

Applying the Lime Plaster Substrate
Completed Substrate
Alex applying Lime Plaster for Tadelakt Bubbles
Finished Tadelakt "Bubbles" (the white substrate will be covered up later
when the cob walls are plastered) next to the many glass window bubbles

Pouring the tadelakt pigment into the lime plaster. Such a pretty color!

ooohhh... loving that mix :)


working with one of the workshop participants on lime plaster troweling

Applying the second layer of lime plaster for the tadelakt


The dry burnishing on the first day always
goes into the night.  We finished at 11 pm!

Amazing! We got 8 people in there burnishing! I "supervised" :) 

Here, I was repairing a little ding in the tadelakt. Good demo opportunity!

What a GREAT team! Thanks for an awesome workshop! 
This is darker than it will ultimately dry,
but it'll stay mottled. Isn't is gorgeous?
LOVE the variation!
Burnishing away... in the clouds? :)
We all LOVE tadelakt!
This amazing crew finished the very last of the burnishing
This is the largest of the stones that we used to
burnish the tadelakt.  Most are much smaller!
Tammy came up with a great invention!
A handle on that tiny stone!
As we were leaving, the tiny "microfissures" were just starting to appear.
You can see them, but can't feel them. They are so beautiful!

But that's not all! We also were able to lime plaster and burnish the bottom of the exterior of the shower building!
We gave these sea creatures a lime plaster update!
and Linda did a demonstration of her burnished fresco technique!
What an action packed and wonderful experience. I can't wait to do it again! Let me know if you know of a place to host another... 


Friday, September 13, 2013

A Fond Farewell to OUR Ecovillage

  I departed British Columbia at the end of August and I thought I'd give you all a little update about how it finished up... The turtle house was quite close to being ready to survive the wniter, so no fears that it will get there... especially under the very capable hands that are still working on it! Two of the interns during the program fell in love and decided to purchase the turtle house! They are making sure it moves along.  Pat Henneberry and the rest of the leadership team (minus Logan and I) are still there as well. Can't wait to see how it proceeds!

The "Turtle House" as we left it in mid-August
Before leaving, our final week was spent in "Social Permaculture" with the infamous Starhawk, Charles, and Pandora. It was an interesting course, about how people interact and communicate.  We learned some tools for facilitating meetings and resolving conflicts, to name a few topics...

Social Permaculturists

The interns through a graduation party, which included facilitator massages (!) and swings at a pinata. I took my swings ninja style! 

Ryan giving Pat a well-earned foot massage

Me, the turtle house pinata and the turtle house owners :)


 I couldn't help but include this photo... she's so cute.
Violet, the baby cow

Bye Bye from Ciara
Bye Bye from Kerry
And... coming up next... starting this Saturday, I'll be teaching my first workshop! Stay tuned!

Saturday, July 20, 2013

A Home in Progress

The months are going by so quickly here and so much has happened!

First, here's an update on the "Turtle House." Since the last post, we completed the foundation, including a a concrete bond beam, a substantial stem wall mortared with cement (the urbanite stacked on top of the bondbeam).
Concrete truck driving away after the pour - there is a bond beam
under the walls, 4 interior & 4 exterior footers for the timberframe
We installed the door bucks, which the framed door will later sit inside and started the cob going up. We also added a 4-6 inch layer of slip straw to the inside of the stem wall to create a thermal break between the urbanite and the interior. It also served to even out the bumpy edge for plastering later.
Stem wall with door bucks installed, cob started and a slip straw thermal break on the stem wall interior
Interns, Alex & Obang, doing the cob dance
Interns, Wayne & Kerry, applying cob to the wall
After mixing a few hundred batches by foot, we graduated to bobcat cob ("Bobcob")
Intern, Matty, chiseling out a mortice for the timberframe
Intern building team brought a bent (one assembled face of the timberframe) into the house to be raised
The raised interior timberframe (there are still a few braces
attached until we raise the second half of the frame)
The joists spreading horizontally across the timberframe is the floor of a loft area.  We are building a spiral staircase to get up there around the round pole. The third door enters from the outside into a self-contained utility room.
The turtle house as it stands today. Notice the trapazoid window grouping in the front!

Intern group at the end of a great week!
Kinsol Trestle

Friday, we took a fieldtrip to see the nearby Kinsol Trestle, which Rob, a teacher on our team, worked on rehabilitating. It is a massive post and beam wooden bridge! Wow! The original construction was completed in 1920. It used to have a train running across it, but now it is for foot traffic only.

We also visited an impressive timberframe house within walking distance of the trestle.  We all received lots of inspiration noticing all the detail and beauty that this natural home included!  Check out the beautiful wavy application of the wooden shingles.
Etzio's House
Nearby clay and sand pit
On our way back, after a picnic and a swim at the lake, we swung by a neighbor's house, where all the sand and clay that we've been using to make our cob for the turtle house has come from. We took some samples and inspected the different layers left by the ancient glacier.

During the last month, we've also had 7 days of plastering and finishing techniques included for the internship.  Ayla, who I worked with to learn tadelakt in the winter, and I taught the different techniques. The overall projects are in varying stages of completeness, but with the exception of the "brown coat," they are all meant to be the final wall treatment.

White clay plaster
Interns, Natasha and Marty applying clay plaster
Yellow Clay Paint
Interns applying an exterior lime plaster to the root cellar with yogurt lids and gloves

Interns painting a lime fresco with earthen pigments
 
Two-tone interior lime plaster
 
Lime plaster over rammed tires & cob shelves
Interns and I making tadelakt "cobjects"
One weekend before Logan left, we went camping and hiking at the beach with a few people. We also harvested and ate a species I had never tried before - gooseneck barnacles.  They are quite good! They look like something from prehistoric times... like eating a little bit of dinosaur... 
Sombrio Beach
Logan left in mid-July to do a bit of hiking before he starts school in Connecticut on August 1.  We finish up here in mid-August.  I decided I will teach a couple of tadelakt workshops in Bandon, Oregon after this (September 14-18). I'm excited to go back to Tammy's and visit Cob Cottage Company again. After that, I'll visit my parents and then head up to Connecticut to join Logan around October 1. I'm hoping to keep doing projects in natural building there and also get involved with some New Haven nonprofits. We'll see what unfolds!