In November, we went back and built them an earthen pizza oven as our wedding gift to them...
 First, we spent a few days finding and gathering materials. We were able to get free clay slip from a pottery studio. We dug some sand from a nearby hill for free, and purchased some hampster bedding (wood chips) cheaply. We also purchased the fire bricks, a little piece of angle iron, wood for the door, and a few other things. We may have been able to find these things even cheaper or for free if we had more time to look, but in the end, we only spent about $60 on the project and built it in about a week.
 Logan had built an earth oven before in California, but this was my first one. We were also able to involve a friend that wanted to learn the process and had a lot of tools and resources for us. Thanks Justin!
 We had gotten it in our minds that Boise would be dry and warmish in November, but instead we experienced quite a lot of rain and several nights below freezing. ugh. That slowed us down a little, but we pushed the edge of the building season and succeeded.

 We laid the hearth (the floor of the oven), with fire bricks, made a dome out of sand over that and built the doorway out of fire bricks and angle iron.

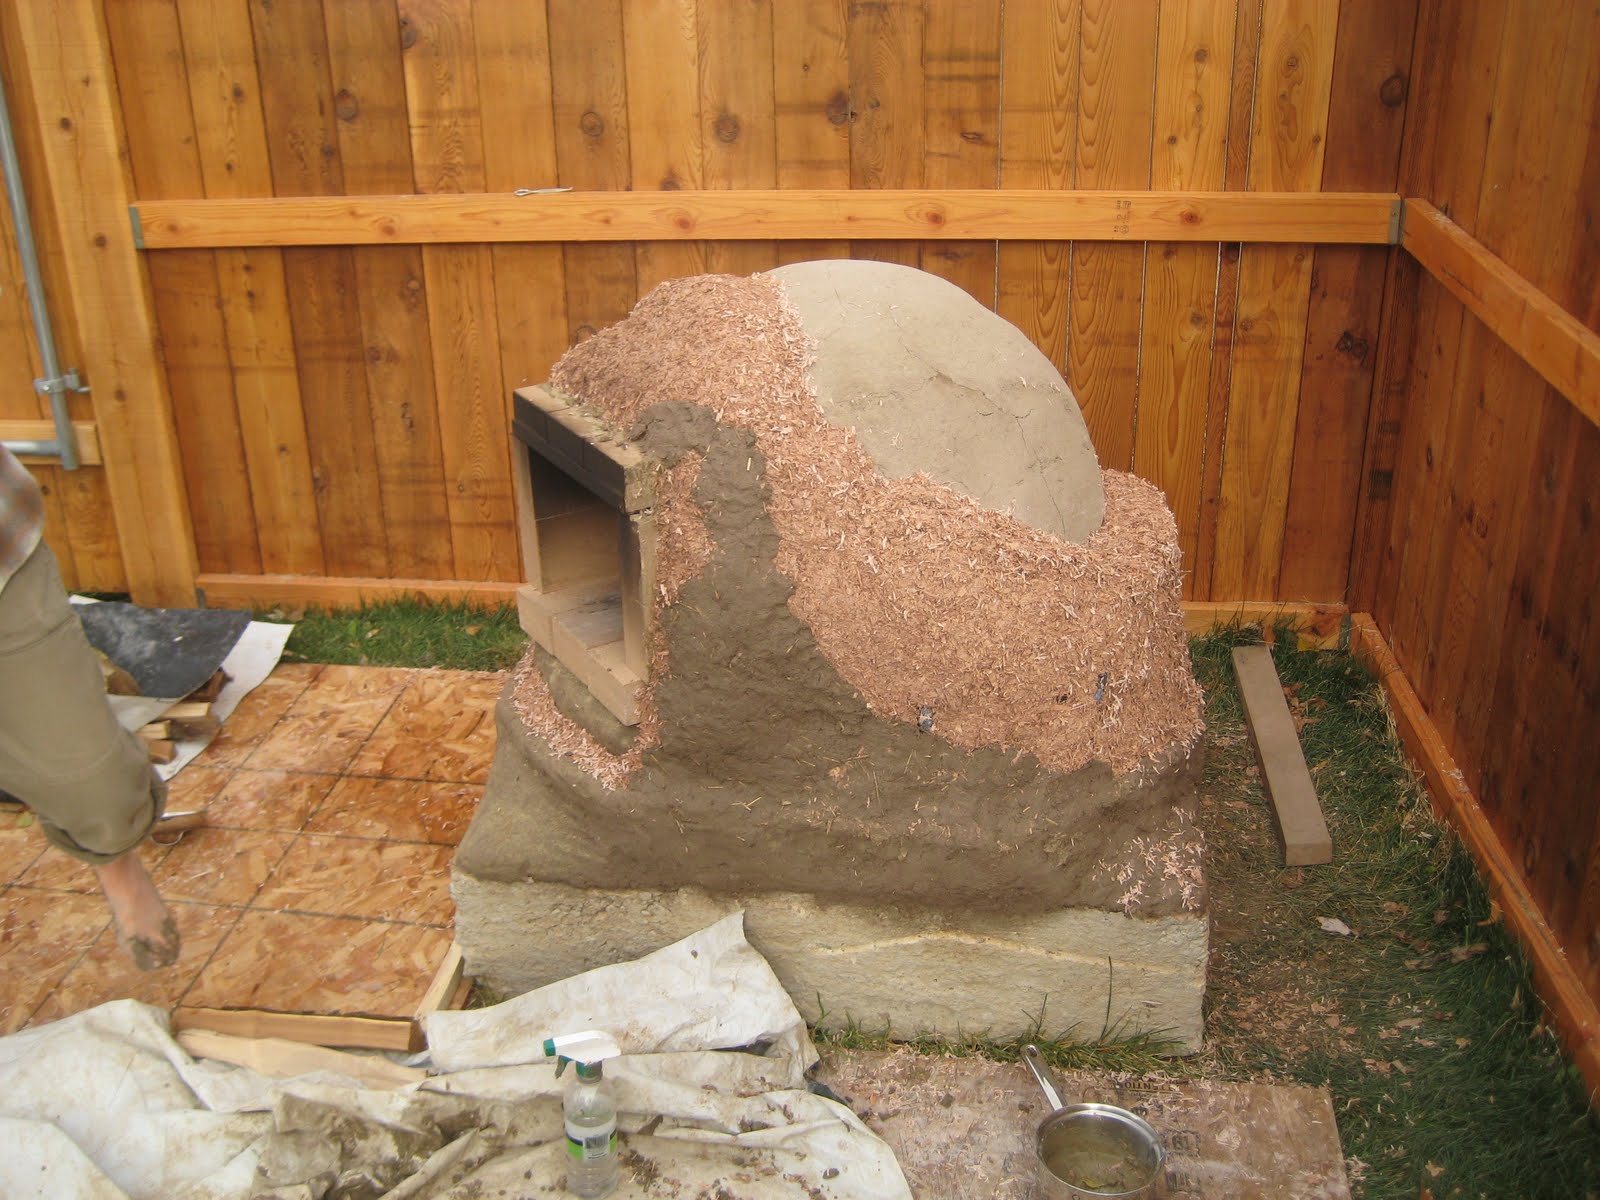 Next came 4" of wood chip/slip insulation and then an a half inch plaster (a thinner, wetter cob) layer to hold the insulation on. Lots more fire drying through this stage.


 |
| The lighter color around the door is where the plaster has already dried. Eventually it will all be that color. |
 |
| The door allows us to trap more heat in while baking |
In order to use the oven, you burn a fire inside for a couple of hours so the mass of the oven (cob) will retain that heat. The hottest temperatures are good for cooking pizzas. After you are done with the pizzas, you can bake some bread, then bake cookies and muffins as the oven loses heat. It stays hot for about 12 hours!
First, we spent a few days finding and gathering materials. We were able to get free clay slip from a pottery studio. We dug some sand from a nearby hill for free, and purchased some hampster bedding (wood chips) cheaply. We also purchased the fire bricks, a little piece of angle iron, wood for the door, and a few other things. We may have been able to find these things even cheaper or for free if we had more time to look, but in the end, we only spent about $60 on the project and built it in about a week. Logan had built an earth oven before in California, but this was my first one. We were also able to involve a friend that wanted to learn the process and had a lot of tools and resources for us. Thanks Justin!
We were happy to discover that Paddy and Anna had this large piece of concrete in their backyard that they were unable to remove, as it is an old agricultural well cover. It made a perfect foundation for the pizza oven and brought the height to a nice level. Here, I had just finished leveling the concrete with an application of cob.
We had gotten it in our minds that Boise would be dry and warmish in November, but instead we experienced quite a lot of rain and several nights below freezing. ugh. That slowed us down a little, but we pushed the edge of the building season and succeeded.
Here, we built a retaining wall and filled it with beer bottles and wood chips mixed with a little clay slip for insulation.
Then we built a subfloor out of cob on top of that. The bottles around the outside connected into the insulation that went around the domed oven at a later stage.
We laid the hearth (the floor of the oven), with fire bricks, made a dome out of sand over that and built the doorway out of fire bricks and angle iron.
Next, we covered the dome with wet paper, so the sand wouldn't get stuck to the cob that we layered on top of that and fall onto the pizzas later.. ]
Then came more cob (about 4") over the dome. Once that was completed, we dug the sand and paper out of the dome through the door. Then, we made our first fire to start drying everything out.
 |
| Making lots of cob! |
 |
| This was so satisfying, to have a fire in there! |
Next came 4" of wood chip/slip insulation and then an a half inch plaster (a thinner, wetter cob) layer to hold the insulation on. Lots more fire drying through this stage.
Finally, I applied a 1" layer of finish plaster.
Then, we were having 90 second pizzas and I baked an apple cobbler in about 10 minutes. awesome. After the fire is out, the oven will hold heat overnight, so you can bake all day or have cinnamon buns in the morning.